Introduction
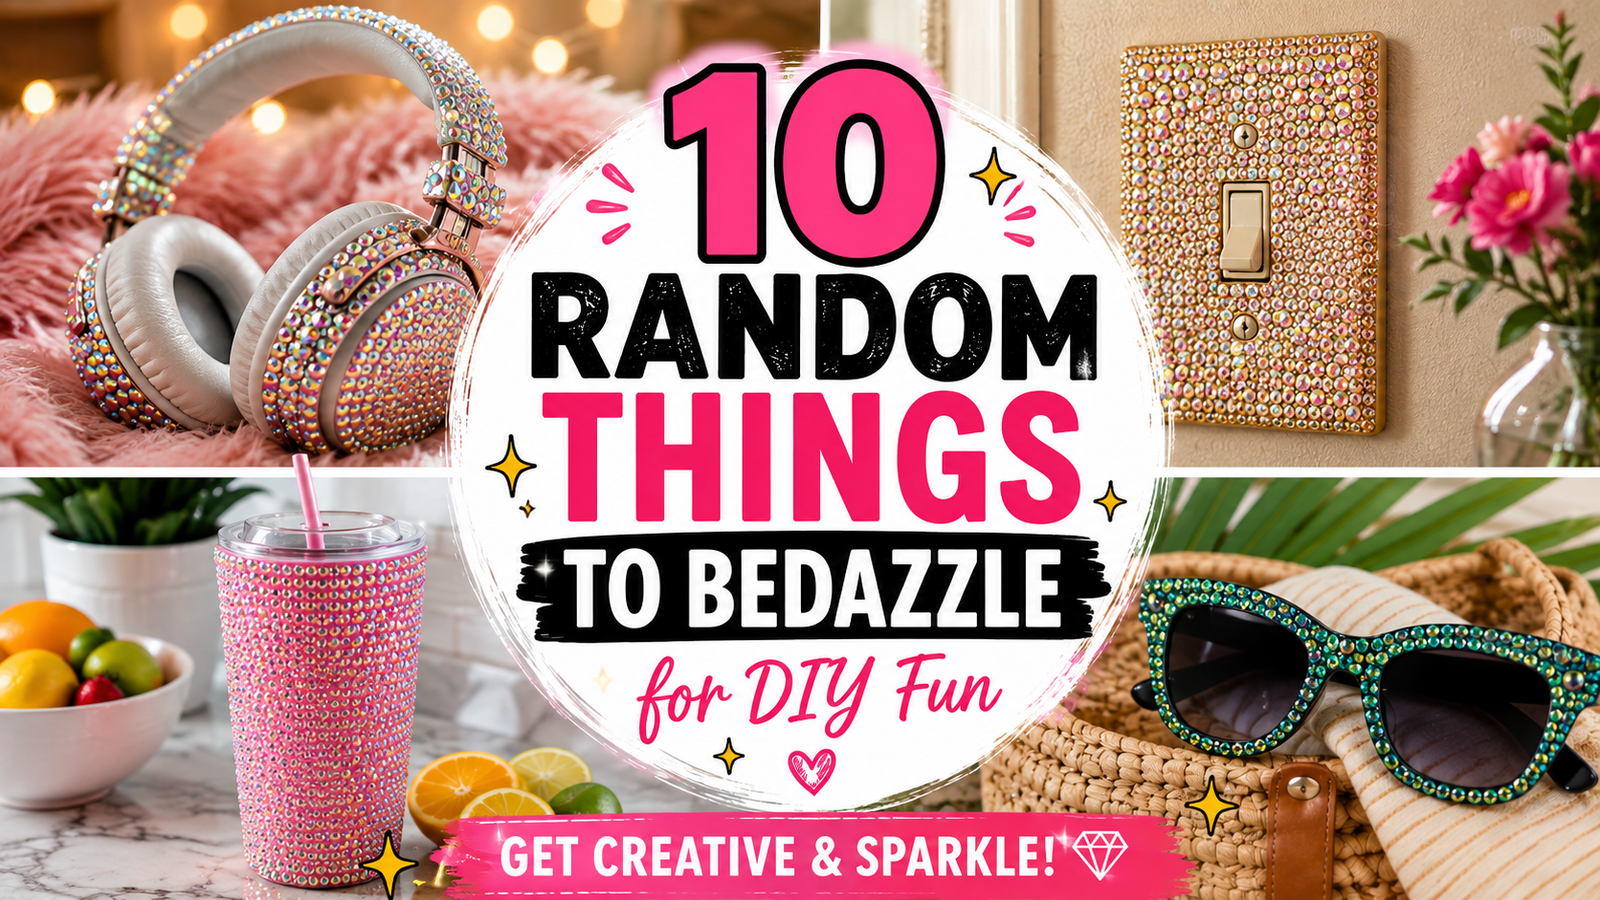
If you have ever looked at a plain household object and thought, “This needs more sparkle,” you are in good company! Bedazzling—the art of applying rhinestones, crystals, or gems to ordinary items—is making a massive comeback. What used to be a simple childhood craft has evolved into a huge trend in modern DIY home decor, festival fashion, and personalized gifting.
Taking everyday objects and turning them into shimmering custom pieces is oddly satisfying. It gives old items a second life, helps you express your personal style, and offers a relaxing, creative outlet after a busy day. Whether you want to add subtle glamour to your desk or create a bold showstopper for your living room, learning 10 random things to bedazzle for DIY fun will open up endless craft possibilities.
In this ultimate guide, we will explore unique items you probably already have lying around the house, along with exact step-by-step instructions, essential tools, cost breakdowns, and insider pro-tips. Get your craft glue ready, put on your favorite playlist, and let’s add some major bling to your life!
Why The Bedazzling Trend Is So Popular
The resurgence of rhinestone crafting on platforms like Pinterest and TikTok is no accident. Here is why everyone is falling back in love with this glittery craft:
- Affordable Luxury: You can make a $5 item look like a $100 boutique piece with just a few dollars worth of flatback crystals.
- Stress Relief and Mindfulness: Placing gems individually requires focus and patience, making it a meditative activity to unwind.
- Upcycling Old Goods: Bedazzling allows you to give scratched, faded, or boring items a stunning second life instead of throwing them away.
- Personalized Style: No one else in the world will have the exact same sparkly item as you.
Essential Materials and Tools Needed
Before starting your bedazzling journey, assemble your craft kit. Having the right tools makes all the difference between a mess and a masterpiece!
| Tool / Material | Purpose | Pro Tip |
| Flatback Rhinestones | The main star! Resin, glass, or Swarovski. | Glass crystals provide maximum sparkle compared to acrylic. |
| Gem-Tac or E6000 Glue | Secures rhinestones to various surfaces. | Use E6000 for metal/plastic and Gem-Tac for fabric/leather. |
| Rhinestone Wax Picker | Picks up individual gems with ease. | A wax pencil works much better than standard tweezers. |
| Precision Applicator Tips | Controls glue output to avoid blobs. | Screw these directly onto your glue tube nozzle. |
| Craft Tray / Sorting Trays | Keeps gems face-up while working. | Shake the tray side-to-side gently to flip gems automatically. |
| Rubbing Alcohol & Cloth | Cleans surfaces before applying glue. | Essential for removing oils that prevent adhesion. |
Safety Tips for Bedazzling
Crafting should always be safe and enjoyable! Keep these basic guidelines in mind:
- Work in a Well-Ventilated Area: Heavy-duty adhesives like E6000 emit strong fumes. Open a window or work near a fan.
- Protect Your Skin: Wear disposable nitrile gloves if you have sensitive skin or are working with industrial glues.
- Keep Away from Children & Pets: Small rhinestones are choking hazards. Store your craft trays securely.
- Wear Eye Protection: When trimming rhinestone strips or using spray adhesives, keep your eyes protected.
8 Detailed DIY Bedazzling Projects
Below are detailed step-by-step guides for transforming eight completely random household items into sparkling works of art.
1. Sparkly Hairbrush Upgrade
Transform your morning routine by turning a boring plastic or wooden hairbrush into a sparkling vanity display piece.
       +-----------------------------------+
       |     [ Bedazzled Outer Rim ]       |
       |  +-----------------------------+  |
       |  |  (SS16 Rhinestone Fill)     |  |
       |  |  +-----------------------+  |  |
       |  |  |  (SS10 Center Fill)   |  |  |
       |  |  +-----------------------+  |  |
       |  +-----------------------------+  |
       +-----------------------------------+
                         ||
                         ||  <-- [ Handle with Scatter Pattern ]
                         ||
Why You’ll Love This Idea
A bedazzled hairbrush brings instant glamour to your bathroom counter or vanity tray. It is practical, easy to hold, and makes a memorable handmade gift for friends.
Materials Needed
- Flat-backed paddle hairbrush
- Flatback glass rhinestones (Sizes SS10, SS16, SS20)
- Gem-Tac adhesive
- Wax picker tool
- Rubbing alcohol and cotton pad
Step-by-Step Instructions
- Clean the Surface: Wipe down the flat back of the hairbrush using rubbing alcohol to remove dust and hand oils. Let it dry completely.
- Plan the Outline: Apply a thin line of Gem-Tac glue along the outer rim of the hairbrush back.
- Place the Rim Gems: Using the wax picker tool, place larger SS20 rhinestones edge-to-edge along the glue line to create a clean border.
- Fill the Center Rows: Apply small dots of glue inside the border. Place SS16 gems in tight, parallel rows moving inward.
- Fill Small Gaps: Use smaller SS10 gems to fill tiny gaps near curved edges or near the handle transition.
- Bedazzle the Handle: Apply a honeycomb pattern of gems along the handle for extra grip and shine.
- Check for Straight Lines: Periodically look at the brush from a slight distance to ensure rows remain straight and uniform.
- Let it Cure: Allow the glue to dry completely undisturbed for 24 to 48 hours before daily use.
Beginner Tips
Start with a flat-backed brush rather than a curved one. Flat surfaces are much easier for controlling glue and keeping rhinestones level.
Common Mistakes to Avoid
- Using too much glue: Excess glue squashes out between gems and clouds their facet tops.
- Touching gems too soon: Moving gems before glue sets creates crooked lines.
Styling & Decorating Ideas
Place your bedazzled hairbrush on a mirrored tray alongside perfumed bottles and small jewelry boxes for a vintage Hollywood vanity feel.
Project Specs
- Best Colors & Materials: Aurora Borealis (AB) crystals on a matte white or black brush base.
- Estimated Cost: $8 – $15
- Estimated Time: 2 hours
- Difficulty Level: Beginner
- Where It Looks Best: Vanity tables, makeup stations, or bathroom open shelving.
Pinterest-Worthy Tip: Take a close-up photo of the finished brush lying next to fresh flowers under soft morning daylight to highlight the multidimensional sparkle.
Conclusion
This quick hairbrush project is an easy entry point into bedazzling that yields a high-end, functional item you will use every day.
2. Glamorous Stapler for Your Desk
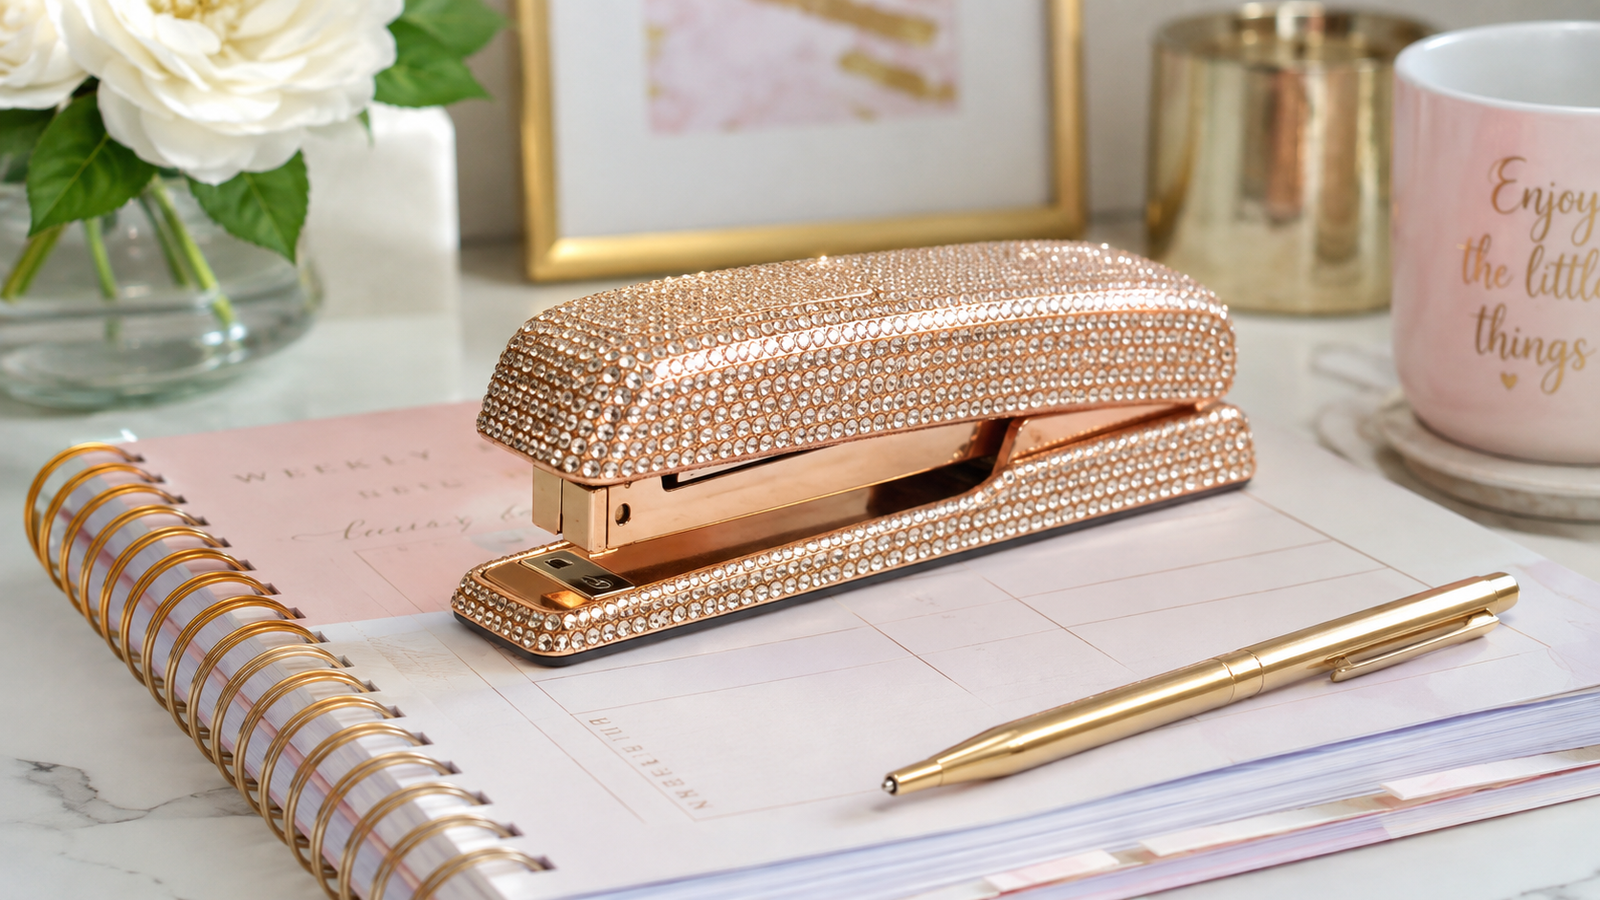
Turn boring office supplies into a chic desk accessory that makes handling paperwork feel fun.
Why You’ll Love This Idea
A glittery stapler brightens up your workspace and adds a touch of personality to an otherwise utilitarian item.
Materials Needed
- Standard metal or hard plastic stapler
- E6000 adhesive (or Gem-Tac)
- Mixed-size crystal rhinestones (SS6 to SS16)
- Precision applicator tip
- Wax pencil
Step-by-Step Instructions
- Prep the Surface: Wipe down the entire plastic/metal casing of the stapler with rubbing alcohol.
- Avoid Moving Parts: Identify where the stapler hinges and depresses. Do not apply glue or gems to moving joints.
- Apply Glue in Sections: Place tiny dots of E6000 along the top flat ridge of the stapler working in 1-inch sections.
- Create an Edge Outline: Secure SS12 gems along top edges to establish sharp contours.
- Scatter-Fill the Body: Use a mix of SS10 and SS16 gems across the side panels in a scattered cluster design.
- Detail the Front: Add smaller SS6 gems around the front push area for full coverage without interfering with operation.
- Clean Stray Glue Threads: Use a pair of fine tweezers to pull away any dry glue strings.
- Cure Completely: Let the stapler cure undisturbed for 24 hours in a well-ventilated space.
Beginner Tips
Work in small 1-inch areas at a time because industrial adhesives skin over quickly.
Common Mistakes to Avoid
Glueing across the top opening or hinge joints, which prevents the stapler from opening to reload staples.
Styling & Decorating Ideas
Pair your glamorous stapler with a matching bedazzled tape dispenser and acrylic desk organizers for a coordinated, polished home office workspace.
Project Specs
- Best Colors & Materials: Rose gold or clear crystal rhinestones on a clear acrylic stapler base.
- Estimated Cost: $10 – $18
- Estimated Time: 1.5 hours
- Difficulty Level: Beginner to Intermediate
- Where It Looks Best: Executive desks, home office workstations, or craft room tables.
Pinterest-Worthy Tip: Style your bedazzled stapler on top of a pastel notebook with a gold pen laying diagonally across for a clean, aesthetic desk shot.
Conclusion
Bedazzling your office supplies is an instant mood booster that transforms mundane daily chores into a stylish experience.
3. Custom Bedazzled Light Switch Cover
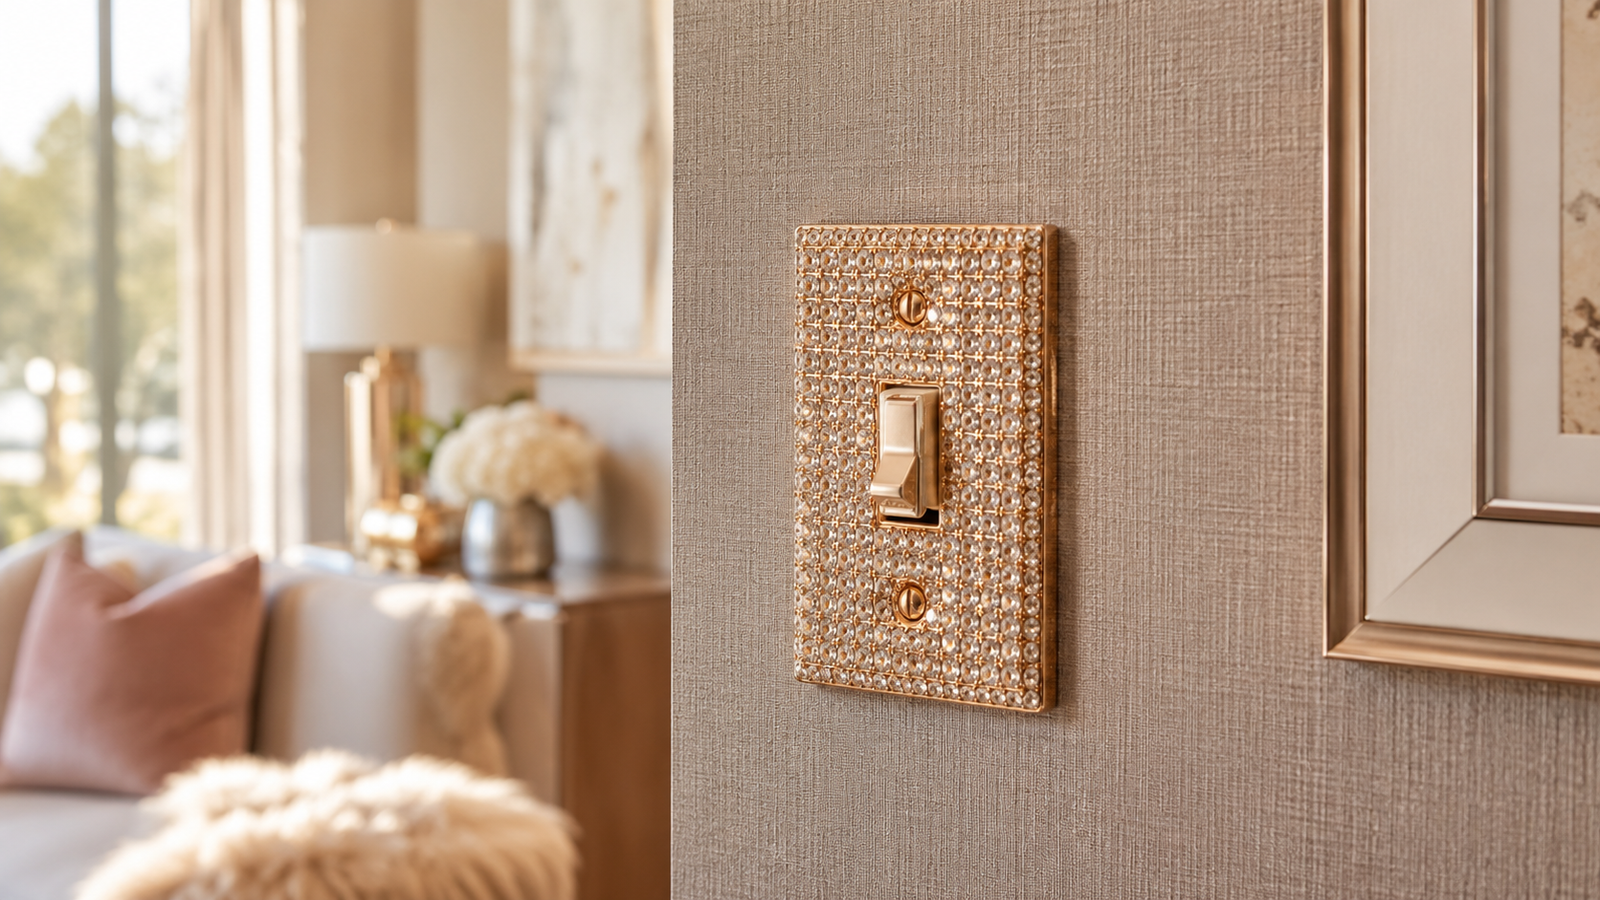
Upgrade boring plastic light switch plates into shimmering architectural highlights that catch the room’s light.
Why You’ll Love This Idea
Switch covers are small, flat, and removable, making them one of the easiest and most impactful DIY home decor projects.
Materials Needed
- Flat plastic light switch plate
- Clear multi-surface craft glue
- SS12 and SS16 flatback rhinestones
- Rhinestone tray
- Wax applicator
Step-by-Step Instructions
- Remove Switch Plate: Unscrew the light switch cover plate from your wall and clean it thoroughly with rubbing alcohol.
- Protect Screw Holes: Place tiny pieces of painter’s tape over the screw holes so glue does not fill them.
- Outline Outer Edges: Apply glue along the four outer edges and place SS16 rhinestones along the perimeter.
- Outline Inner Cutout: Apply glue around the center toggle opening and place SS12 rhinestones around it.
- Fill Center Grid: Work in horizontal lines from top to bottom, filling the flat space with alternating gem sizes.
- Taper Smooth Edges: Ensure gems near screw openings sit completely flat so screws can be reinserted flush.
- Remove Protective Tape: Carefully pull off the painter’s tape over screw holes before glue fully hardens.
- Reattach to Wall: Once fully dry (24 hours), screw the plate gently back onto the wall—do not overtighten!
Beginner Tips
Keep screw holes clear! If rhinestones overlap screw openings, you will not be able to mount the plate back onto the wall properly.
Common Mistakes to Avoid
Overtightening screws upon reinstallation, which can crack the plastic plate or pop off surrounding gems.
Styling & Decorating Ideas
Install your custom switch plate in powder rooms, nursery rooms, or glam walk-in closets where light hits it frequently.
Project Specs
- Best Colors & Materials: Champagne gold or silver glass crystals on a plain white plate.
- Estimated Cost: $5 – $10
- Estimated Time: 1 hour
- Difficulty Level: Beginner
- Where It Looks Best: Entryways, powder rooms, walk-in closets, and bedrooms.
Pinterest-Worthy Tip: Capture a short video clip showing room lights turning on and off to highlight how the crystals catch ambient illumination.
Conclusion
A bedazzled light switch cover adds an unexpected touch of luxury to standard room hardware without breaking your budget.
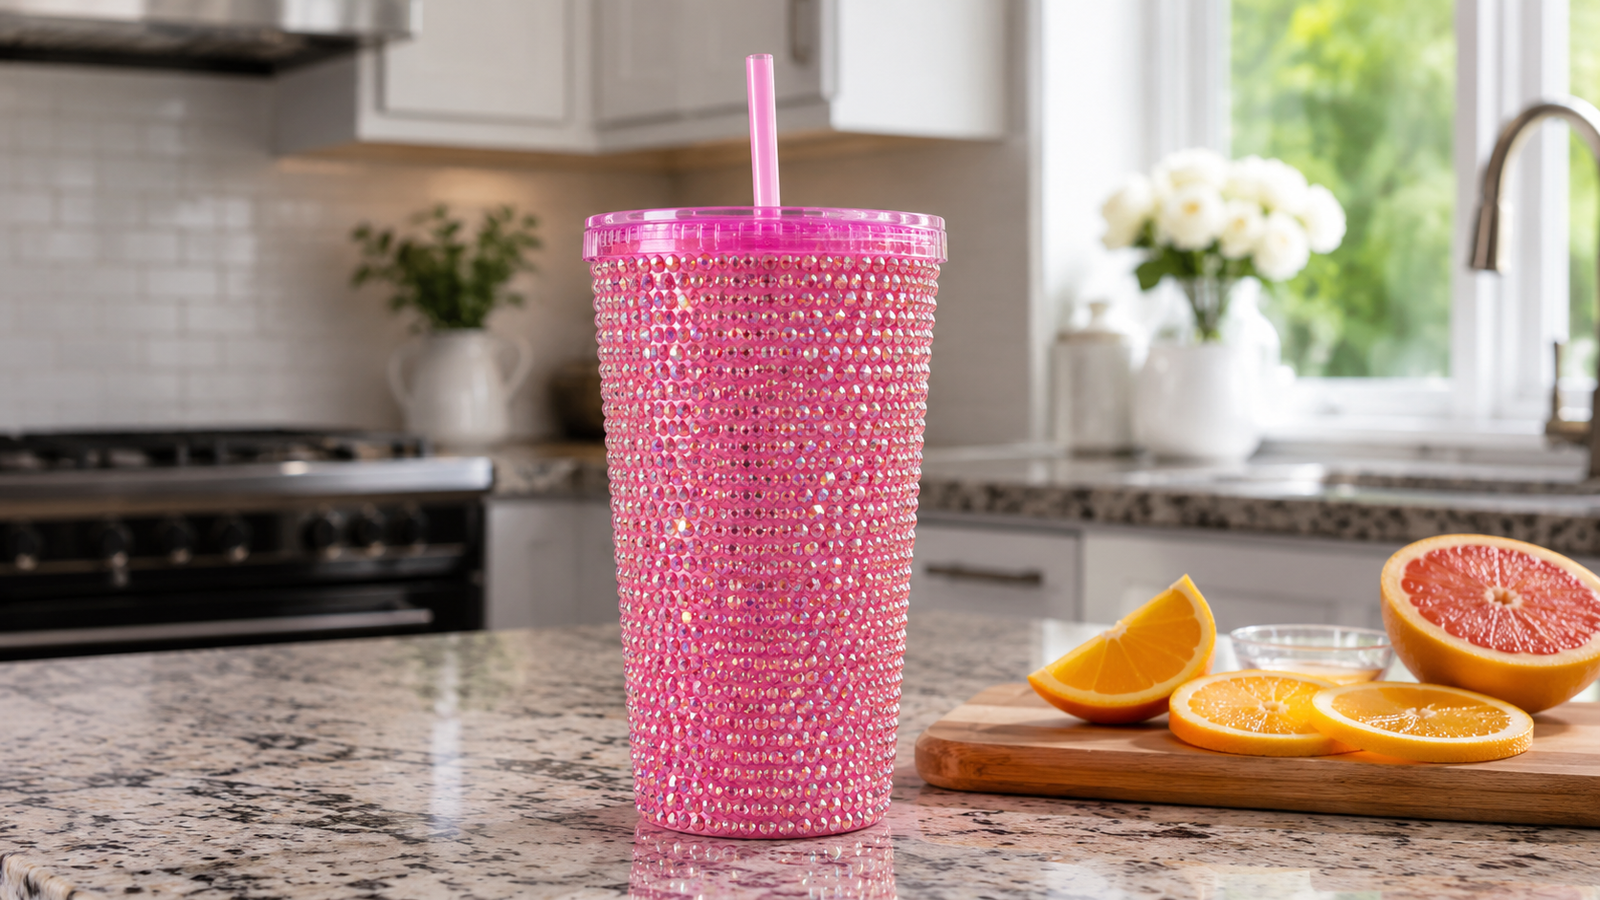
4. Bedazzled Plastic Water Bottle / Tumbler
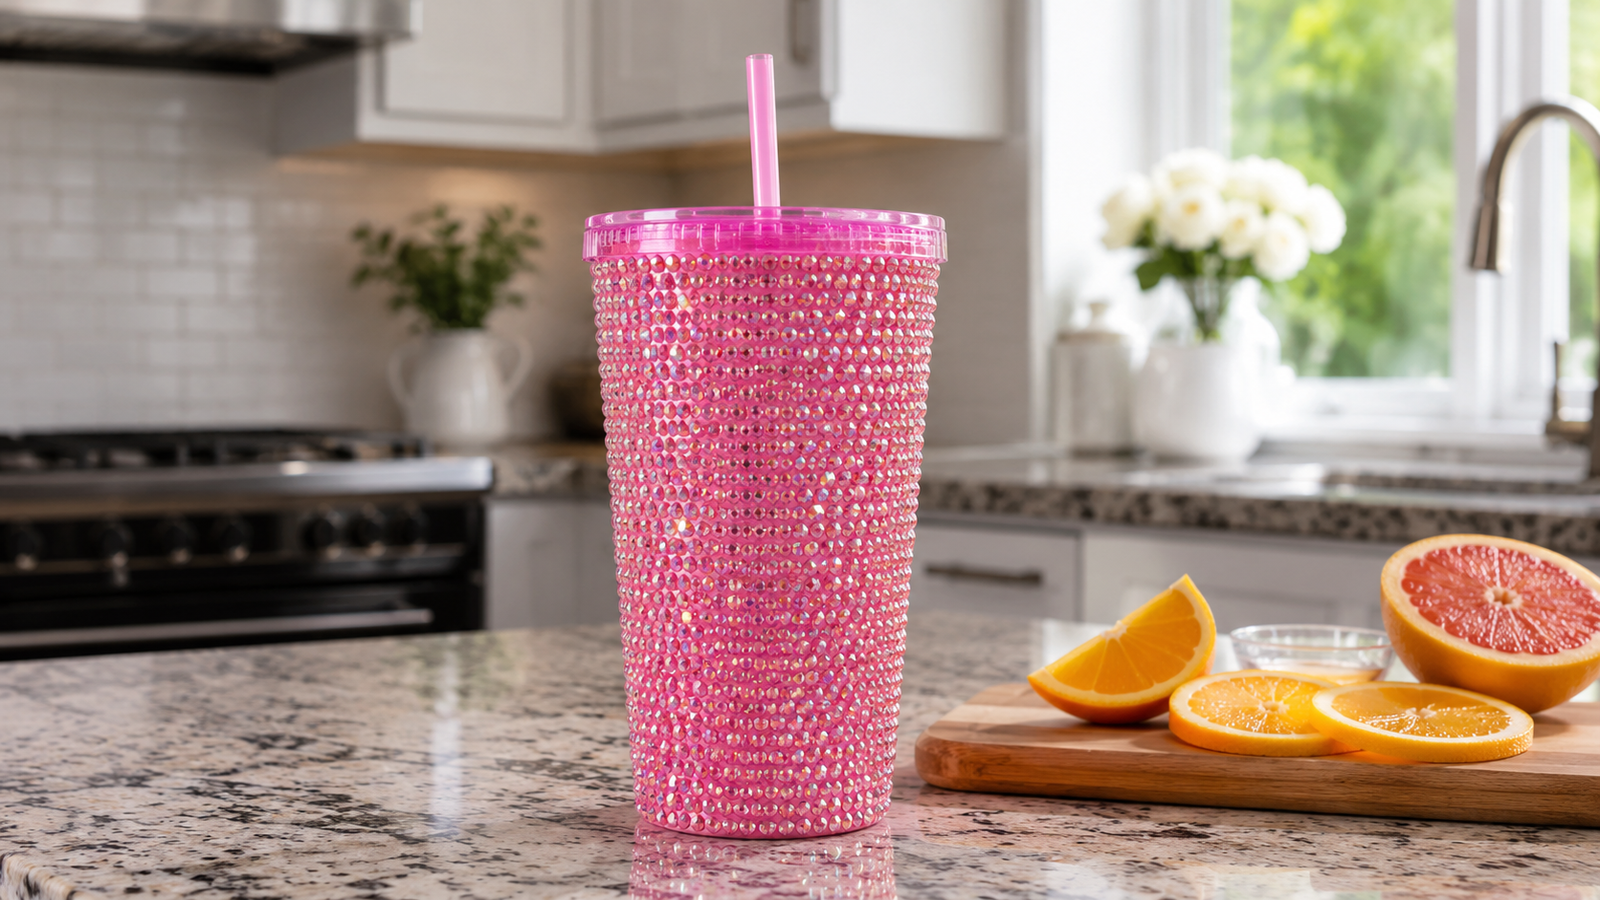
Turn an ordinary plastic water bottle or cold-cup tumbler into an eye-catching hydration accessory.
Why You’ll Love This Idea
Staying hydrated is easier when your water tumbler looks like a shimmering high-fashion accessory.
Materials Needed
- Double-walled acrylic or hard plastic tumbler
- Waterproof craft adhesive (e.g., Supertite or waterproof epoxy)
- Non-hotfix rhinestones (SS10, SS16, SS20)
- Masking tape
- Rubbing alcohol
Step-by-Step Instructions
- Prep the Surface: Wash tumbler exterior with dish soap, dry thoroughly, and clean with rubbing alcohol.
- Scuff for Adhesion (Optional): Lightly sand glossy plastic with fine-grit sandpaper for stronger glue bonding.
- Tape Off Borders: Use masking tape around the rim and bottom edge to keep lines perfectly straight.
- Start from Bottom Up: Apply a ring of glue around the bottom base and set SS20 rhinestones in a tight circle.
- Use Honeycomb Pattern: Lay the second row in the dips of the first row (honeycomb arrangement) for maximum density and zero gaps.
- Work in Sections: Apply glue in 2-inch horizontal strips to prevent drying before gems are placed.
- Fill Lid Top: Apply concentric rings of SS10 gems onto the top surface of the lid.
- Water-Cure Period: Allow 7 days of full curing before hand-washing with mild soap.
Beginner Tips
Use the honeycomb layout method (placing each gem in the groove between two gems below it) to prevent empty spaces.
Common Mistakes to Avoid
- Dishwasher washing: High heat will destroy adhesives! Always hand-wash bedazzled drinkware gently.
- Soaking in water: Never submerge bedazzled items in standing water for prolonged periods.
Styling & Decorating Ideas
Carry your dazzling tumbler to workout sessions, beach outings, or office meetings for an instant style elevation.
Project Specs
- Best Colors & Materials: Pink AB, Aquamarine, or Jet Black glass flatback crystals.
- Estimated Cost: $15 – $25
- Estimated Time: 3 – 5 hours (depending on bottle size)
- Difficulty Level: Intermediate
- Where It Looks Best: Car cup holders, gym bags, and office desks.
Pinterest-Worthy Tip: Photograph your tumbler outdoors against natural greenery with water droplets sparkling on the clear straw.
Conclusion
While time-intensive, bedazzling a tumbler yields a durable, stunning accessory that draws compliments wherever you take it.
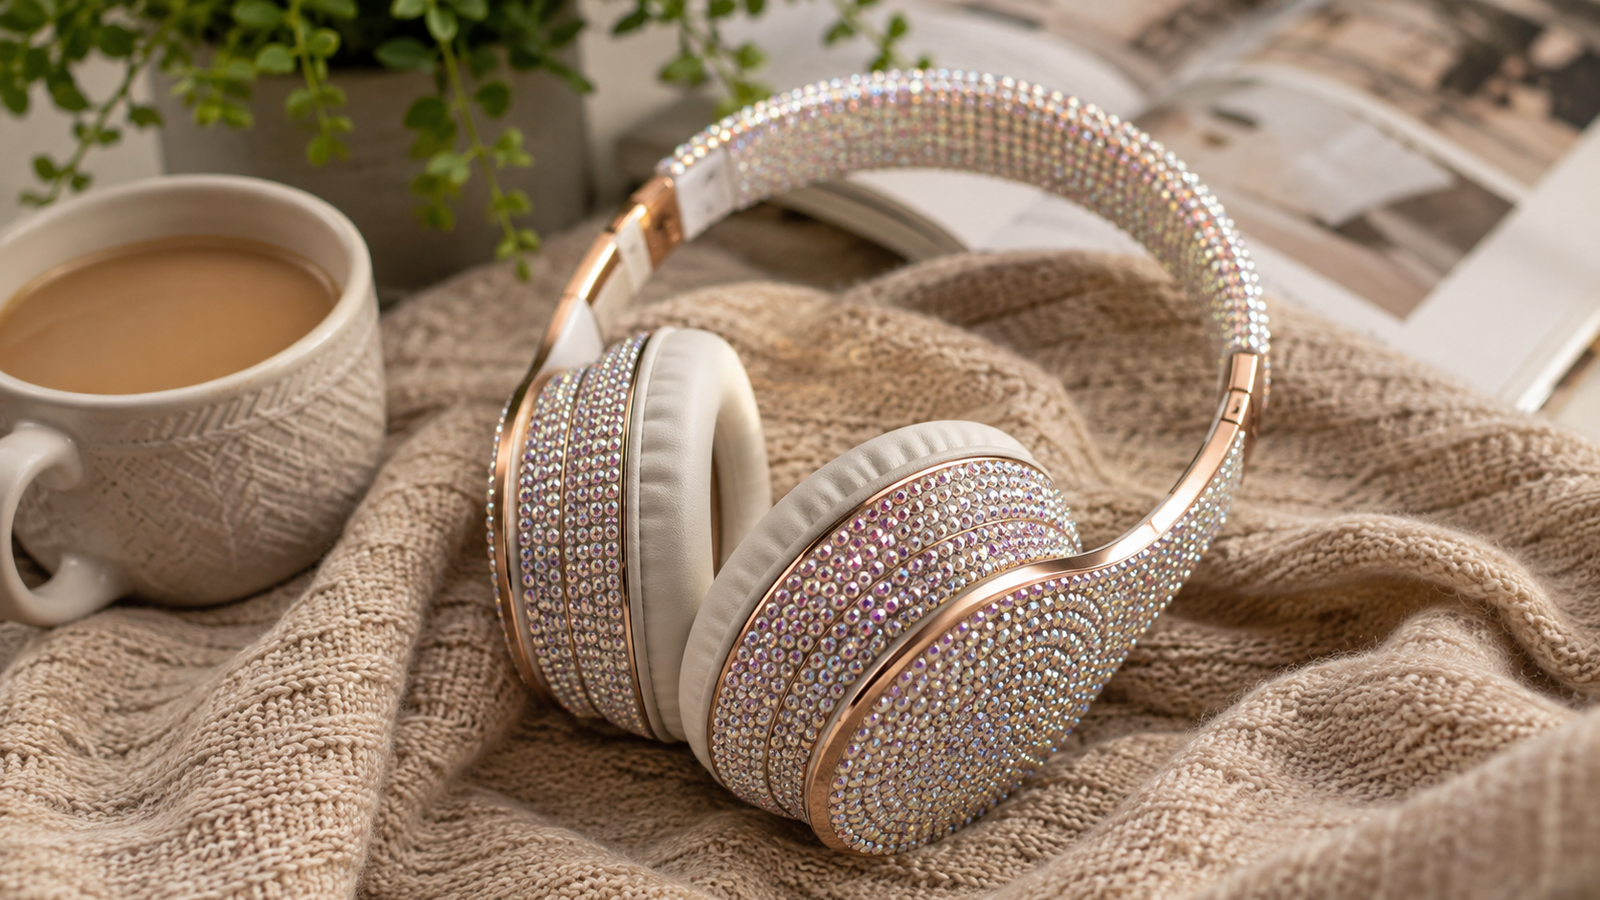
5. Sparkling Headphones or Earbud Case
Give standard tech gear an artistic twist by bedazzling over-ear headphones or wireless earbud charging cases.
Why You’ll Love This Idea
Boring grey or white tech devices instantly transform into custom fashion accessories that look like high-end designer collabs.
Materials Needed
- Hard-shell earbud case or over-ear headphone earcups
- Precision adhesive (Gem-Tac or E6000 with fine tip)
- Micro rhinestones (SS6, SS8, SS10)
- Wax pencil tool
- Isopropyl alcohol
Step-by-Step Instructions
- Clean Case Shell: Wipe external plastic casing thoroughly with isopropyl alcohol to remove oil residues.
- Protect Ports and Buttons: Place small pieces of painter’s tape over charging ports, microphones, and pairing buttons.
- Establish Center Focal Point: Begin placing gems at the center of the outer cup or lid and build outward in circles.
- Use Precision Sizes: Use SS6 and SS8 gems around rounded edges and hinges for smooth closing.
- Keep Layers Thin: Apply very thin dots of glue to avoid run-off into functional seams.
- Cover Rear Curves: Carefully taper size down to SS6 gems as you reach curved corner edges.
- Peel Port Tape: Gently remove port protection tape with tweezers before glue cures completely.
- Allow Full Set: Let sit untouched for 24 hours to ensure firm adhesion before handling.
Beginner Tips
Stick to small gem sizes (SS6–SS10). Larger rhinestones won’t sit flat on tight curves and will snag on pockets or bags easily.
Common Mistakes to Avoid
Blocking charging ports or cover hinges with glue or misaligned rhinestones.
Styling & Decorating Ideas
Display on a wooden headphone stand next to minimalist desk setups for an aesthetic tech aesthetic.
Project Specs
- Best Colors & Materials: Holographic silver, Jet Hematite, or Iridescent White crystals.
- Estimated Cost: $8 – $15
- Estimated Time: 2 hours
- Difficulty Level: Intermediate
- Where It Looks Best: On tech stands, in gym tote bags, or around the neck as a fashion statement.
Pinterest-Worthy Tip: Pose headphones on a neutral knit sweater textured background with soft sunlight focusing on the jewel facets.
Conclusion
Customizing tech gear with crystals is an easy weekend craft that merges modern utility with statement personal style.
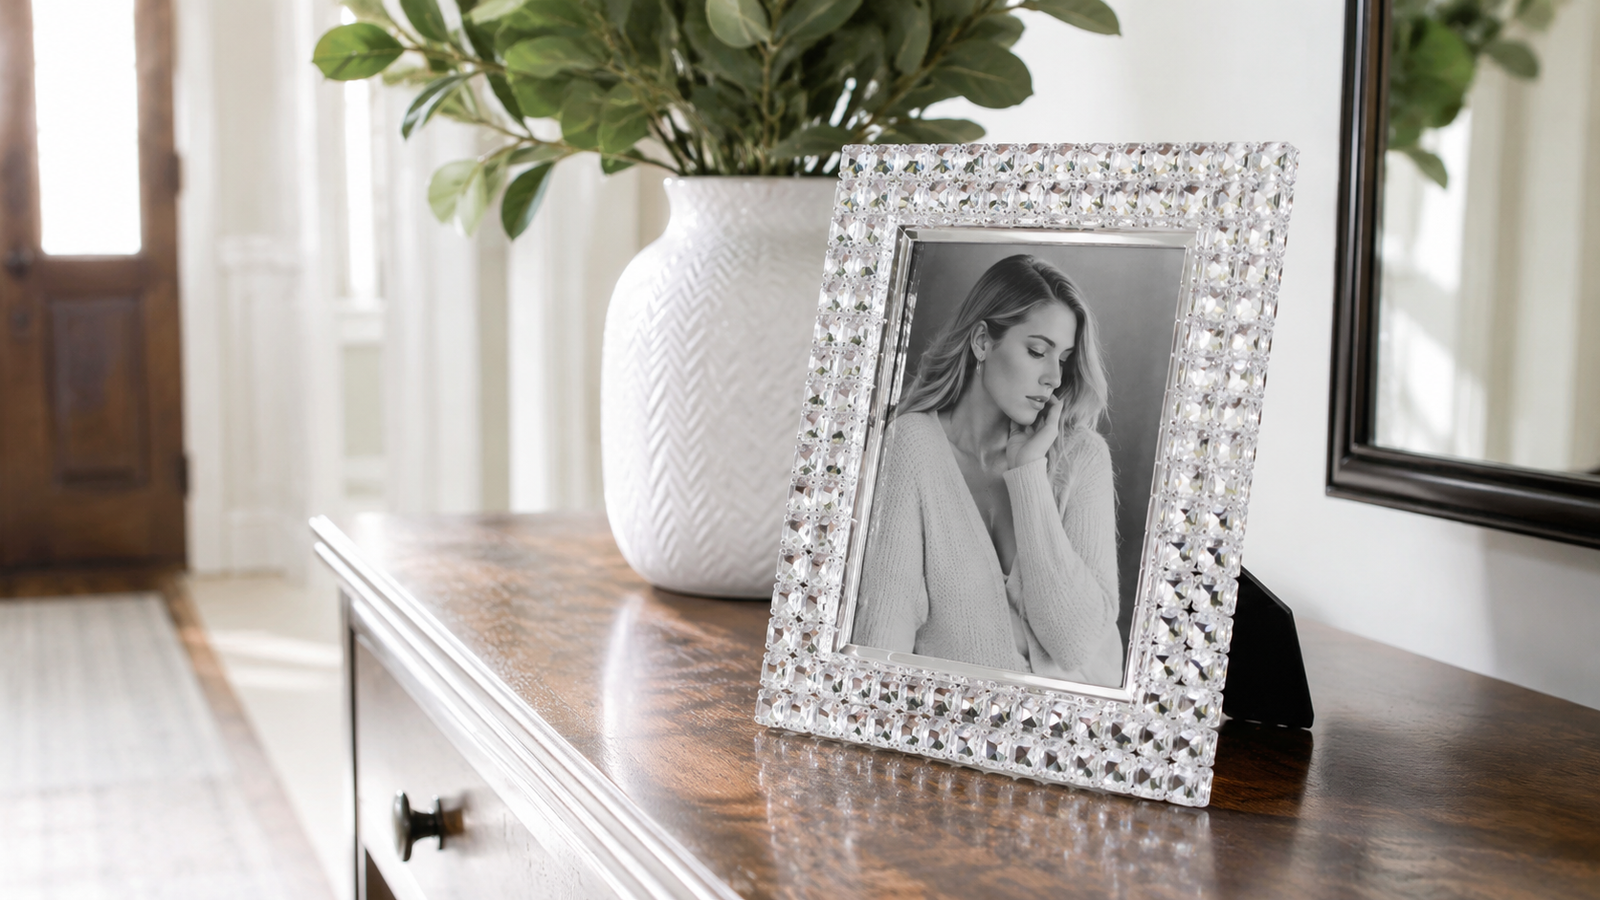
6. Bedazzled Decorative Picture Frame
Turn a simple wooden or plastic photo frame into a custom sparkling showcase for your favorite memories.
Why You’ll Love This Idea
It customizes simple gallery art or family memories, adding texture and sparkle to tabletop arrangements or photo walls.
Materials Needed
- Flat-surface picture frame (4×6 or 5×7 inch)
- Multi-surface gel adhesive
- Assorted flatback crystals (SS12, SS16, SS20)
- Tweezers or wax pen
- Soft cleaning cloth
Step-by-Step Instructions
- Disassemble Frame: Remove glass pane, photo backing, and hardware to work safely on the frame shell.
- Wipe Down Surface: Clean frame faces with alcohol or mild soapy water; dry fully.
- Establish Outer Border: Apply line of glue on outer perimeter and secure SS20 gems in straight line.
- Establish Inner Border: Glue SS12 gems around inner photo cutout edge for precise framing.
- Fill Middle Channels: Fill remaining central border area using mix of SS16 and SS12 gems.
- Check Corner Alignment: Mitre corner sections carefully so geometric lines look clean and square.
- Clean Lens & Reassemble: Polish photo glass, reinsert picture, and lock frame back in place once dry.
- Display: Place on tabletop shelves or hang on accent gallery walls.
Beginner Tips
Using mixed gem sizes adds visual depth and makes filling odd spaces easy without leaving exposed backing frame.
Common Mistakes to Avoid
Gluing glass into frame permanently during assembly—always remove glass completely before crafting!
Styling & Decorating Ideas
Use bedazzled frames to highlight wedding photos, milestone celebrations, or artistic black-and-white prints.
Project Specs
- Best Colors & Materials: Clear Crystal, Gold Shadow, or Pearl and Gem blends.
- Estimated Cost: $6 – $12
- Estimated Time: 1.5 hours
- Difficulty Level: Beginner
- Where It Looks Best: Bedside tables, entryway consoles, mantle displays.
Pinterest-Worthy Tip: Display the bedazzled frame alongside vintage brass candlesticks and framed art prints for a layered gallery look.
Conclusion
A bedazzled photo frame makes an effortless gift that adds personalized warmth and elegance to any home interior setup.
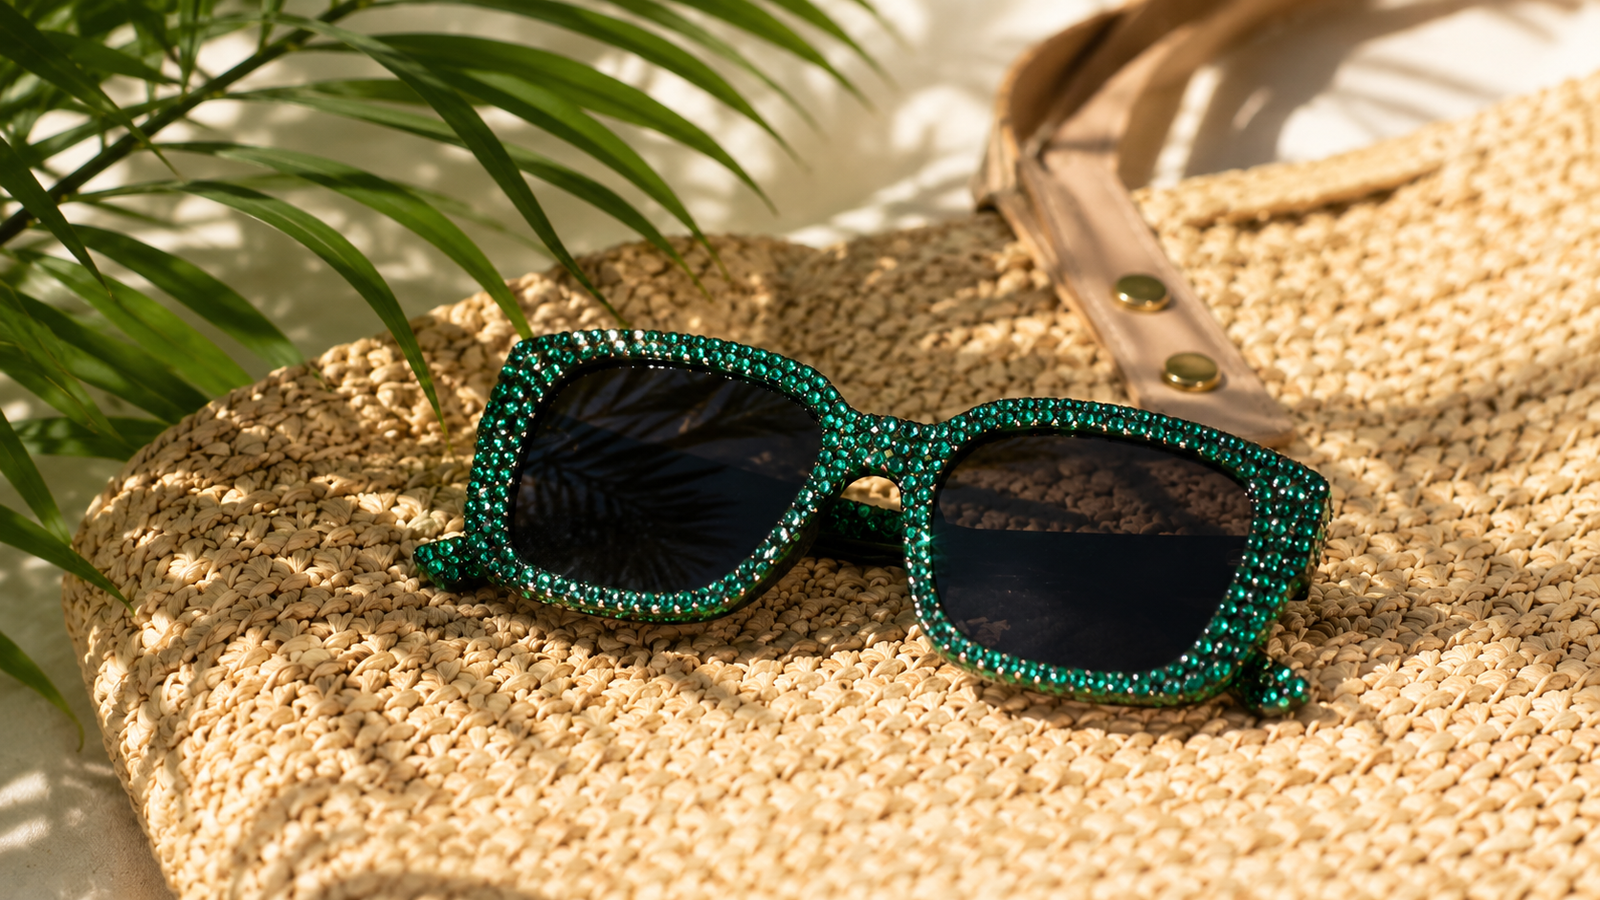
7. Custom Gem-Encrusted Sunglasses
Step up your summer outfit game with custom, high-fashion statement sunglasses adorned with shiny rhinestone accents.
Why You’ll Love This Idea
Designer crystal sunglasses can cost hundreds of dollars, but you can recreate the exact high-fashion look for under $10!
Materials Needed
- Plastic thick-frame sunglasses
- E6000 jewelry adhesive
- SS10 & SS12 pointback or flatback rhinestones
- Precision applicator tip
- Wax pick tool
Step-by-Step Instructions
- Cover Lens Area: Tape over sunglass lenses using painter’s tape to prevent accidental glue smears.
- Clean Frame Arms: Wipe frame brow and side arms clean using rubbing alcohol pads.
- Start at Top Brow: Apply glue along top rim edge of frames in 1-inch increments.
- Attach Brow Crystals: Place SS12 crystals along top rim line using wax picker tool.
- Adorn Side Temples: Work along side temple arms with alternating gem patterns or solid lines.
- Detail Outer Corners: Add small clusters of smaller SS10 gems near upper outer frame corners for cat-eye effect.
- Remove Lens Protection: Carefully remove painter’s tape after glue sets slightly (about 30 minutes).
- Full Cure Time: Allow 24 hours before wearing sunglasses outdoors or on top of your head.
Beginner Tips
Thick plastic frames (like classic wayfarer or thick cat-eye styles) provide the best surface area for rhinestone placement.
Common Mistakes to Avoid
Getting glue directly onto lenses, which causes permanent cloudiness or damages UV coatings.
Styling & Decorating Ideas
Wear your custom sparkling shades to music festivals, beach vacations, pool parties, or brunch events with friends.
Project Specs
- Best Colors & Materials: Emerald Green, Ruby Red, or Classic Diamond Clear crystals.
- Estimated Cost: $5 – $12
- Estimated Time: 1 hour
- Difficulty Level: Beginner
- Where It Looks Best: Festival outfits, vacation wardrobes, or stylish vanity displays.
Pinterest-Worthy Tip: Snap a flat-lay photograph of the sunglasses on top of a beach towel next to a straw hat and sunscreen.
Conclusion
Creating custom bedazzled sunglasses is quick, incredibly fun, and delivers immediate wardrobe-boosting satisfaction.
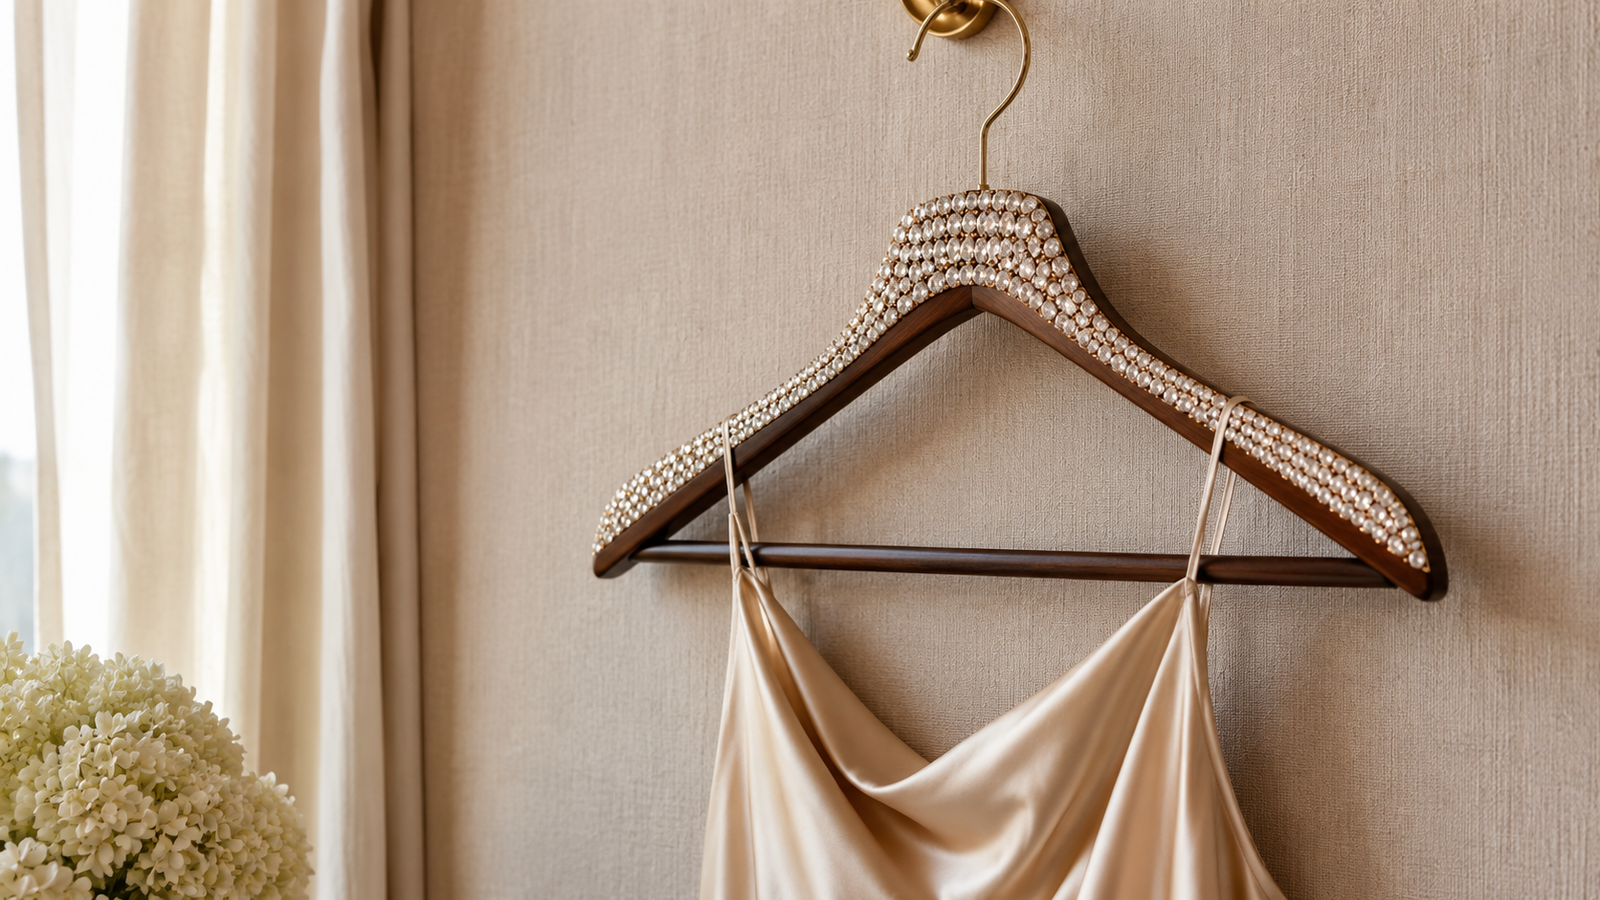
8. Sparkly Wooden Clothes Hangers
Turn plain utility hangers into luxury boutique closet decor using simple rhinestones and craft adhesive.
Why You’ll Love This Idea
It turns your closet space into an upscale boutique showcase and keeps slippery garments from sliding off hangers!
Materials Needed
- Smooth wooden clothes hangers
- Gem-Tac or wood-compatible craft glue
- SS16 & SS20 glass flatback gems
- Wax pencil tool
- Sandpaper (optional)
Step-by-Step Instructions
- Prepare Wood Finish: Sand any rough spots or glossy varnish lightly so glue grabs surface securely.
- Wipe Clean: Remove all wood dust thoroughly with damp cloth; let dry.
- Target Top Spine: Apply glue line along top curve spine of hanger where it is visible when hanging.
- Place Center Line: Lay SS20 gems in single straight row along center top curve.
- Flank Parallel Rows: Add SS16 gems along both sides of center line to create rounded filled channel.
- Bling Metal Hook Base: Add small ring of micro gems around metal neck junction where hook enters wood.
- Smooth Edges: Ensure all edge rhinestones are seated firmly so clothes won’t snag when hung.
- Cure Completely: Allow 24 to 48 hours for glue cure before hanging delicate fabrics or coat weights.
Beginner Tips
Focus bedazzling on the top neck and curved shoulders of the hanger—these areas catch the most light when hanging in closets.
Common Mistakes to Avoid
Leaving exposed glue drips that could catch or transfer onto delicate clothing items like silk or satin.
Styling & Decorating Ideas
Use sparkly hangers to display bridal gowns, special occasion dresses, or photo-ready wardrobe highlights in open racks.
Project Specs
- Best Colors & Materials: Rose Gold, Crystal AB, or Metallic Silver rhinestones on natural wood.
- Estimated Cost: $8 – $15 (for set of 3)
- Estimated Time: 1.5 hours
- Difficulty Level: Beginner
- Where It Looks Best: Open wardrobe racks, bridal suites, and guest room closets.
Pinterest-Worthy Tip: Hang a silk slip dress on your sparkly hanger and shoot against a neutral textured linen wall background.
Conclusion
Bedazzling wooden hangers transforms everyday closet organization into a delightful, luxurious retail-like experience at home.
Expert Decorating Tips for Bedazzled Crafts
To make your DIY projects look professional and expensive rather than messy, keep these industry decorator tips in mind:
+-----------------------------------------------------------------+
|                    PRO BEDAZZLING LAYOUTS                       |
|                                                                 |
|  [ Grid Pattern ]       [ Honeycomb Pattern ]    [ Scatter Flow ]
|   O  O  O  O             O   O   O   O            o  O   .  o   |
|   O  O  O  O               O   O   O              O    o   O    |
|   O  O  O  O             O   O   O   O            .  o   O   .  |
|  (Clean/Modern)          (Maximum Density)       (Organic/Fluid)|
+-----------------------------------------------------------------+
- Mix Gem Sizes for Organic Depth: Using 2–3 complementary sizes (e.g., SS10, SS16, SS20) creates a rich texture that fills tiny gaps seamlessly.
- Stick to Color Schemes: Limit each project to 1–2 primary gem colors or a single monochromatic palette for an elegant look.
- Use the Right Glue for the Right Surface:
- Plastic & Metal: E6000 or Liquid Fusion.
- Fabric & Leather: Gem-Tac or Aleene’s OK to Wash It.
- Glass & Ceramics: Multi-surface waterproof glue or 2-part epoxy.
- Clean Excess Glue Promptly: Keep rubbing alcohol swabs nearby to wipe away small glue mistakes before they set.
Budget-Saving Tips for DIY Rhinestone Crafts
You don’t need to spend fortune to build a incredible rhinestone craft collection! Try these budget-friendly hacks:
- Buy Bulk Wholesale Packs: Purchase flatback rhinestones in gross quantities (1,440 pieces per pack) online instead of small retail craft store bags.
- Upcycle Dollar Store Supplies: Buy cheap plastic frames, tumblers, and organizers from discount stores as practice canvases.
- Use Wax Pencils over Electronic Pickers: Standard wax pickup pencils cost under $2 and work just as well as expensive electric tools.
- Repurpose Old Jewelry: Thrift vintage costume jewelry and disassemble it to use unique focal gems alongside regular rhinestones.
Frequently Asked Questions (FAQs)
1. What glue is best for bedazzling flatback rhinestones?
For plastic, metal, and hard surfaces, E6000 or Liquid Fusion works best. For fabrics and flexible items, Gem-Tac provides a durable, flexible bond that won’t snap when moved.
2. What does “SS” mean in rhinestone sizing?
“SS” stands for Stone Size. Common sizes include:
- SS6 (~2mm): Great for tiny fill-ins and tech devices.
- SS10 (~3mm): Versatile size for detailed work.
- SS16 (~4mm): Standard size for overall coverage.
- SS20 (~5mm): Ideal for outer borders and large items.
3. How long does bedazzle glue take to fully dry?
While glue feels dry to the touch in 2 to 4 hours, complete curing takes 24 to 48 hours. For items exposed to water (like water bottles), wait up to 7 days before washing.
4. Can I wash bedazzled water bottles or clothing?
Yes, but only by hand! Gently hand-wash water bottles with mild dish soap. Wash garments inside out on gentle cycles or hand-wash in cold water. Never use high heat dryers or dishwashers.
5. What is the difference between Hotfix and Non-Hotfix rhinestones?
- Hotfix gems have heat-activated glue on the back and require an iron or hot applicator tool (best for fabrics).
- Non-hotfix gems have a flat back and require manual craft glue application (best for hard surfaces).
6. How do I remove glue residue from my project?
Use a cotton swab dipped in rubbing alcohol or Goo Gone to dissolve fresh or dried glue drips on hard surfaces without dulling crystal faces.
7. How do I stop rhinestones from falling off over time?
Always clean and sand smooth surfaces before gluing, use appropriate multi-surface adhesives, and avoid exposing finished projects to extreme heat or mechanical stress.
8. Is bedazzling an expensive hobby?
Not at all! Starter kits containing thousands of glass crystals, glue, and wax picker tools can be purchased for under $20, making it one of the most accessible DIY hobbies.
Final Thoughts
Bedazzling is far more than a fun craft trend—it is an accessible, budget-friendly way to infuse your personality into everyday home items, tech gear, and style accessories. By following proper surface prep, using correct adhesives, and laying gems systematically, you can create long-lasting, sparkling showstoppers that rival expensive boutique decor.
Pick one item from this list of 10 random things to bedazzle for DIY fun, grab your tools, and unleash your creative sparkle today!
Don’t Forget to Pin It!
Love these DIY ideas?
Save this article to your DIY Home Decor or Craft Inspiration board on Pinterest so you have these step-by-step guides handy when craft day arrives! Click the Pin button below or hover over any image to save directly to your profile. happy crafting!