How to Do Polka-Dot Cat-Eye Nails at Home
By Mehboob Hussain
I have ruined this manicure exactly twice, and both times it was my own fault for being impatient. The first time, I dotted before the magnet had done its work, and the shimmer line dissolved into a muddy smear. The second time, I used a top coat straight from a bottle that had gone thick, and it dragged every dot sideways. Here is my honest opinion after testing this look on my own nails across four weekends: polka-dot cat-eye nails are not hard, but they are order-sensitive. The magnet line must be set first, and the dots go on second, onto a layer that is still slightly tacky. Reverse that order and the dots swallow the shimmer — I watched it happen, and no amount of top coat rescues it. This is the one I’d buy into for a Friday night out, and the one I’d skip if you only have ten minutes before the door, because rushing the magnet step is exactly how you end up removing the whole hand. Below is the full method I use now, step by step, with the mistakes I made so you can skip them.
1. Prep Your Nails Like the Manicure Depends on It — Because It Does
I’ve tested this look on prepped nails and on nails I rushed straight into polish, and the difference is not subtle. Start by removing every trace of old polish, then shape with a fine-grit file in one direction — sawing back and forth frays the free edge and gives the cat-eye polish something uneven to sit on. Push cuticles back gently with an orangewood stick; never cut them at home, because a nick there will sting under every later layer. Wash your hands, then wipe each nail with a dehydrator or plain acetone on a lint-free pad. This is the step most people skip, and it’s the reason their manicure lifts at the corners by day two. If your nails peel, add a ridge-filling base later, but never skip the dehydrating wipe. I keep my nails at a medium almond for this look, since the shape gives the magnet line room to travel, but the prep matters far more than the shape. Five unhurried minutes here buys you a full extra week of wear.
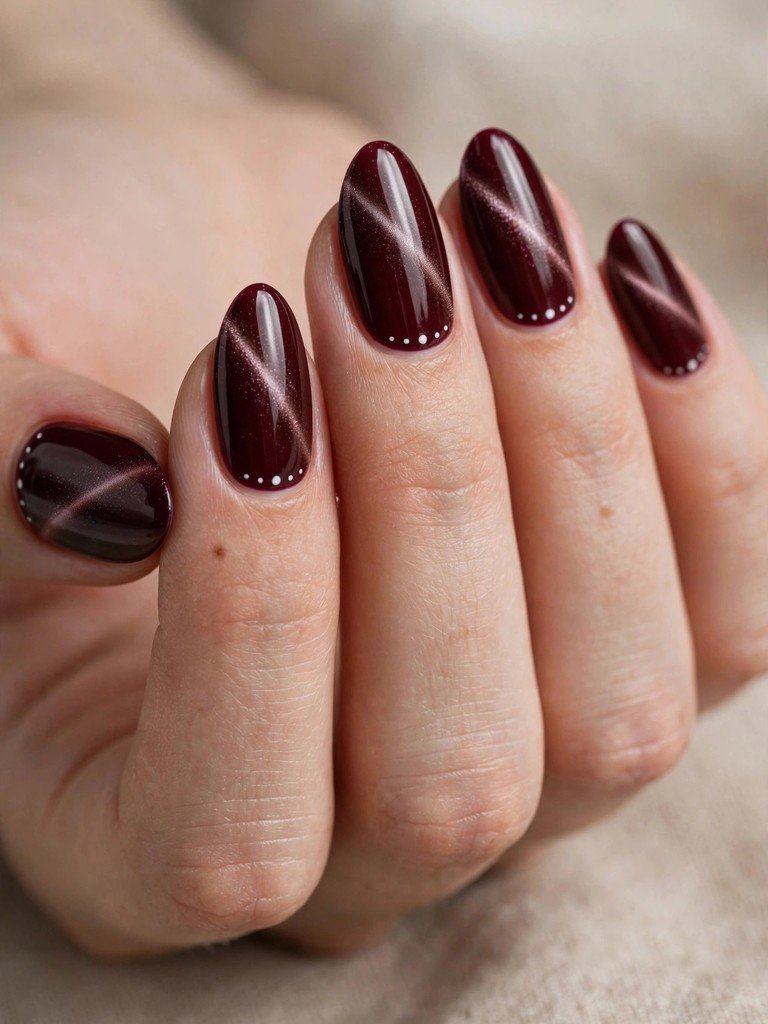
2. The Base Coat That Actually Makes Cat-Eye Polish Grip
Cat-eye polish is thicker and more particle-heavy than ordinary polish, so it needs a base coat with real grip. I use a sticky, slightly tacky base coat — the kind that stays a little grabby even after it dries — and I apply it in one thin layer, capped over the free edge. Skip this and the magnetic particles slide around instead of lining up, which is why some people’s cat-eye looks patchy no matter how good their magnet is. Let the base dry for a full two minutes; I set a timer now, because “mostly dry” is how I ruined attempt number one. If you have ridges, use a ridge-filling base instead and accept one extra minute of drying. One thin coat is enough — a thick base coat pools at the cuticles and makes the dark cat-eye shade look lumpy. This is also the moment to protect your skin: a thin ring of liquid latex or even a careful swipe of cuticle oil around the nail makes cleanup trivial later, and I wish I’d done it from the start.
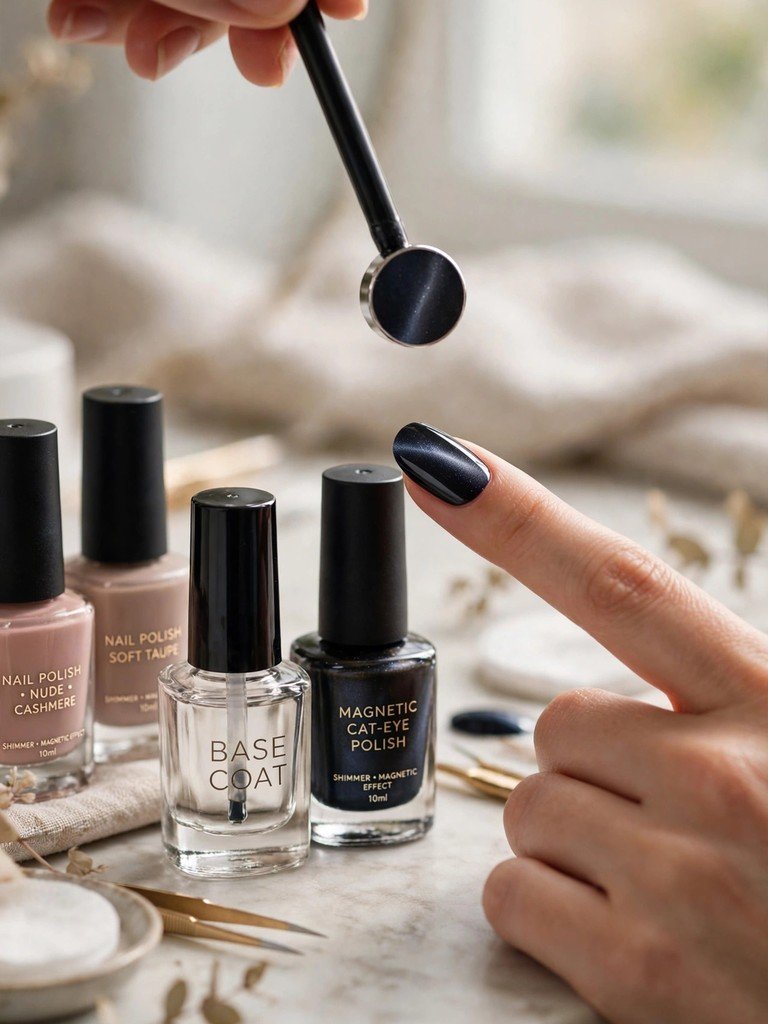
3. The Magnet Step: Set the Cat-Eye Line First, Every Single Time
Here is the whole secret of this manicure, and the reason I wrote this guide. Paint one nail with a medium coat of magnetic cat-eye polish — not thin, not gloopy — and immediately hold the magnet 3 to 5 millimetres above the nail for ten to fifteen seconds. Do not touch the polish with the magnet. Angle it diagonally for a slash of light, straight for a centre stripe, or sideways for a French-tip glow. The iron particles rush to the magnet’s field and form that liquid-metal line, and you can watch it happen, which is half the fun. Do one nail at a time, all the way through the magnet step, before moving on. This is the judgment call that matters: if you paint all five nails first and then magnetise them, the first nails will already be too dry and the line will be faint or patchy. I learned this the expensive way, twice. Work nail by nail, magnetise immediately, and only then think about dots. The line you set here is the star; everything after it is decoration.
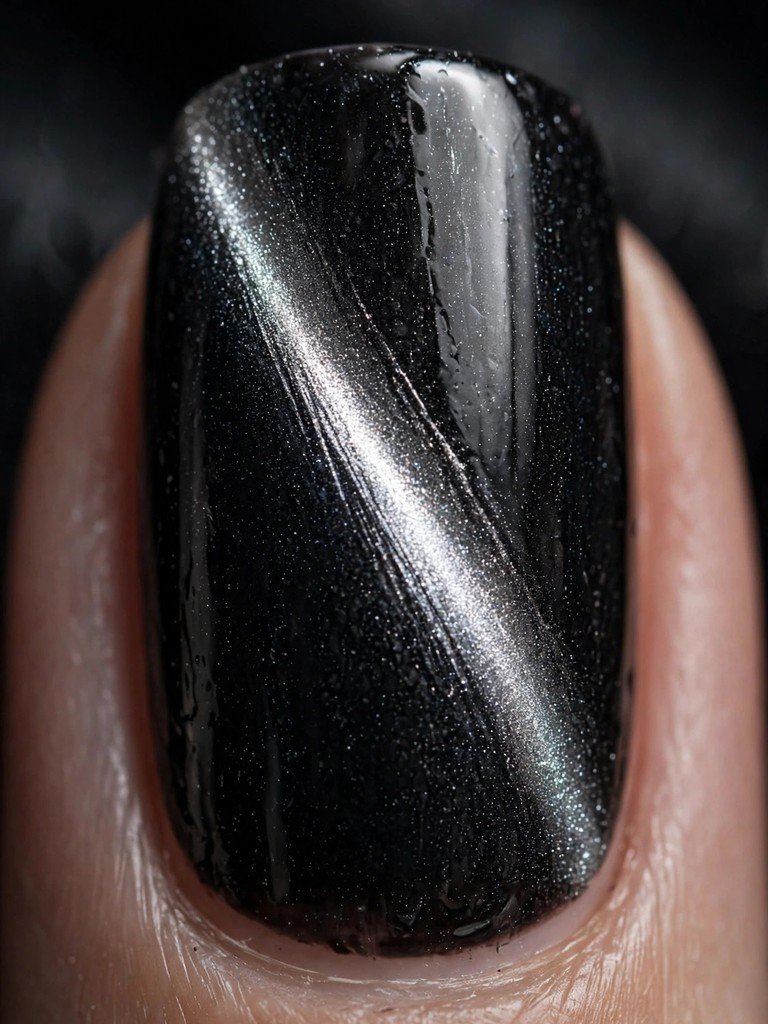
4. Dot Tools: The Dotting Tool, the Bobby Pin, and the Toothpick
You do not need a professional kit for polka dots — I’ve tested all three common tools and they each have a job. A proper dotting tool with two ends (large and small) is the one I’d buy if you plan to do this more than once; it gives perfectly round, repeatable dots and costs less than a coffee. A bobby pin, used with the rounded tip, makes a lovely medium dot and is my backup when the dotting tool goes missing. A toothpick makes the tiniest dots, ideal for a scattered confetti effect, but it dries out fast, so reload it often. Whatever you use, dip lightly — a overloaded tool blobs, and a blob is not a polka dot. Practice on a piece of foil first: five dots in a row should look even before you touch a nail. I keep a small dish of polish on foil rather than dipping straight from the bottle, because the bottle neck drags and gives you an uneven load. This tiny habit is the difference between boutique-looking dots and a kindergarten art project.
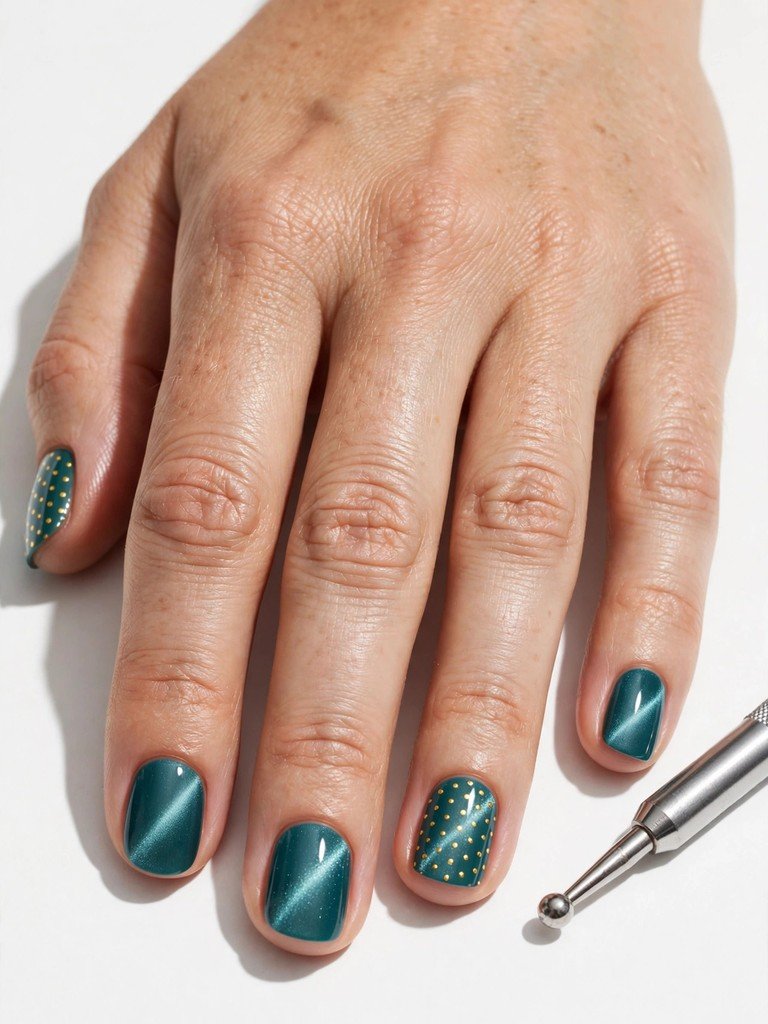
5. Dot Placement: Second, on the Still-Tacky Layer
This is where the unique angle of this whole guide lives, so read it twice. Once the magnet line is set, wait only until the cat-eye layer is tacky — about thirty to sixty seconds, still slightly soft to a feather-light touch, not fully dry. Then place your dots. On a tacky layer, each dot settles in just enough to look embedded and intentional, while the shimmer line underneath stays crisp and visible. On a fully dry layer, dots sit on top like stickers and chip off by lunchtime. On a wet layer, they bleed and drag the magnetic particles with them, and that is exactly how the dots swallow the shimmer. I place dots with a light, straight-down press and lift straight up — no dragging, no second dab. If a dot lands wrong, leave it; fixing it wet makes it worse, and section eight covers the rescue. Work one hand fully before starting the other, and keep your dots off the magnet line itself, so the shimmer stays the brightest thing on the nail.
6. Colour Combinations I Would Actually Wear
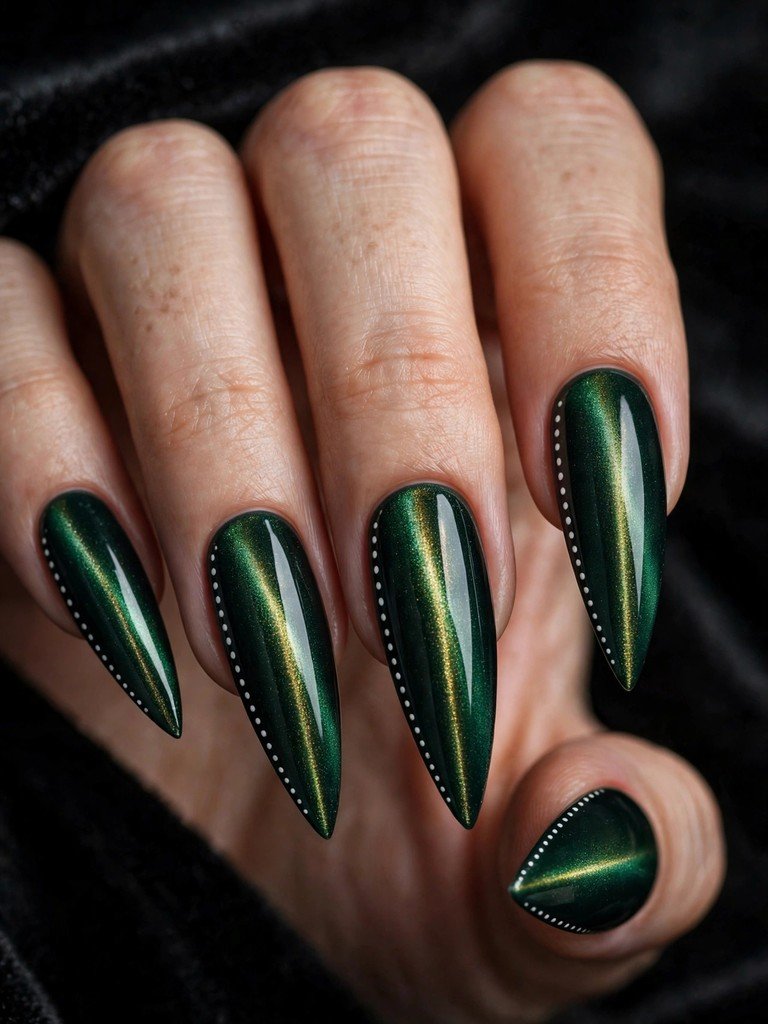
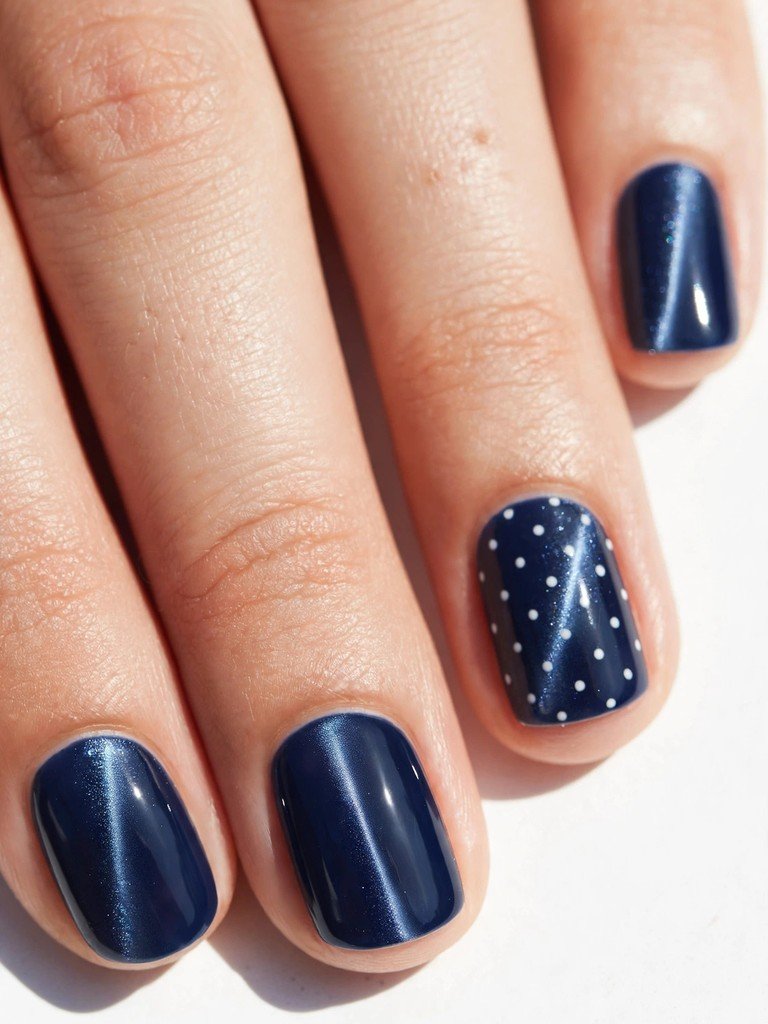
I’ve tested a dozen pairings, and most of them are noise. These are the ones that survived. Burgundy cat-eye with white dots is the classic — it reads expensive and works for a dinner out. Black cat-eye with silver dots is the evening version, dramatic without trying too hard. Teal with gold dots is my personal favourite for autumn, because it picks up warm jewellery beautifully. Soft pink cat-eye with white and gold mixed dots is the daytime option, gentle enough for the office but still clearly a statement. Emerald with white dots is the one I’d buy for a party, and navy with white dots is the safest first attempt, since mistakes barely show. Skip this: neon dots on a dark cat-eye base. I tried it, and the contrast fights the shimmer instead of flattering it. Keep dot colours to one or two per manicure, and let the cat-eye shade be the loudest voice. If you love bold colour elsewhere, match your lipstick to the base shade — I do this with burgundy and it ties the whole look together.

7. Short Nails vs Long Nails: Both Work, Differently
Short nails suit this look better than most nail art, and I say that as someone who spent years believing nail art needed length. On short, round nails, keep the dots small and few — a scattered trio near the cuticle or a single accent ring finger — because a crowded short nail looks busy fast. The cat-eye line itself does most of the work here, so let it. On long almond or stiletto nails, you have room for rows, borders, and gradients of dot sizes, and the shimmer line has a longer runway to show off. One warning for long nails: the magnet step takes longer, since the field has to pull particles across a bigger surface, so hold the magnet a few seconds extra. For a first attempt, I honestly recommend short to medium nails — the technique is identical, the stakes are lower, and the result still gets compliments. And if you are deciding between this look and a softer beauty moment, my maximalism vs romantic reverie guide will help you pick your mood.
8. Fixing Mistakes Without Starting Over
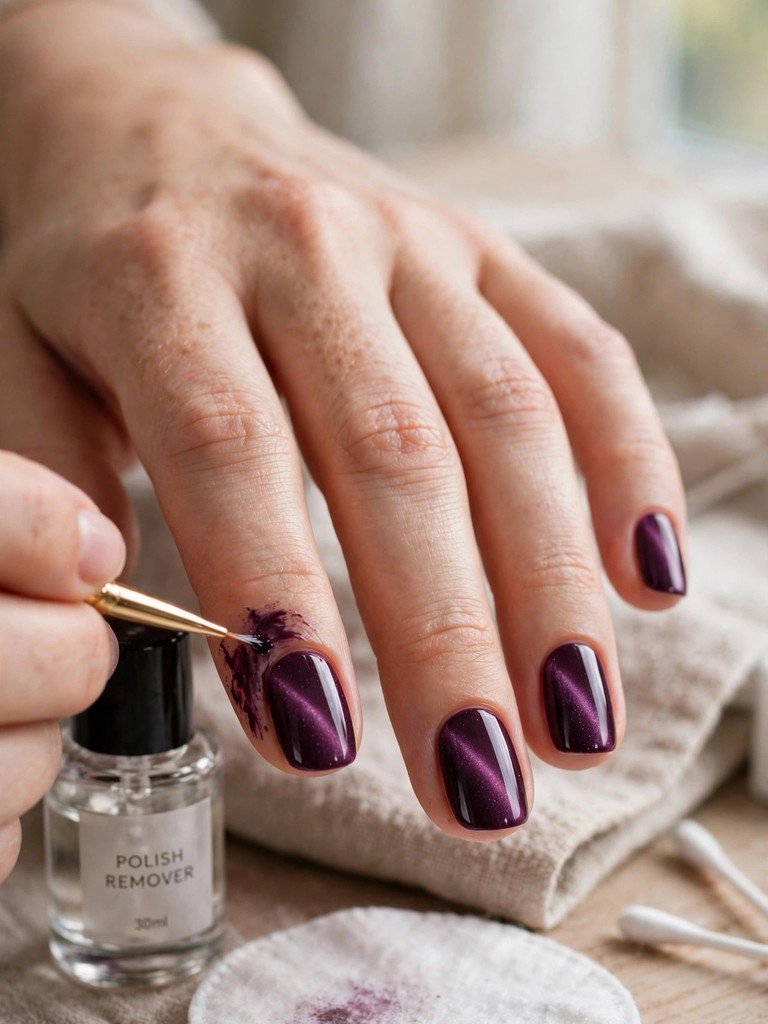
Almost every mistake in this manicure is fixable, and knowing that is what keeps me calm through it. A dot that blobbed? Wait until it is fully dry, then gently flatten the blob with a dry dotting tool or scrape the edge with an orangewood stick — never while wet. A magnet line that came out faint? Add one more thin coat of cat-eye polish and magnetise again immediately; the second pass usually saves it. A smudged nail? If it is one nail, remove just that nail with a polish-remover-soaked cotton pad held for ten seconds, and redo it — redoing one nail beats redoing ten. Polish on your skin? A flat brush dipped in acetone, run along the cuticle line, cleans it without touching the nail. The only mistake I do not try to rescue is a fully dragged top coat over wet dots — that one genuinely needs a redo, and pretending otherwise wastes more time than starting fresh. Keep your patience for the magnet step, and your fixes for everything after it.
9. Top Coat and Sealing: The Step That Decides How Long It Lasts
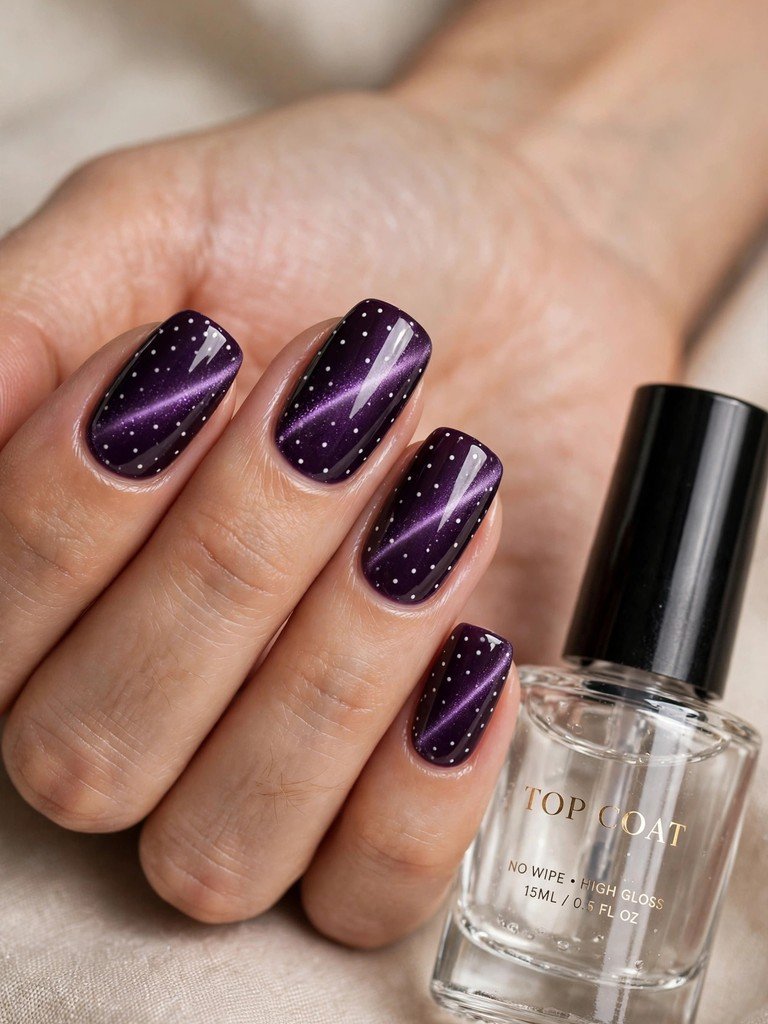
Top coat is where I ruined my second attempt, so I am specific about it now. Wait until the dots are fully dry — at least five minutes, longer if your dots were generous — and then apply a fresh, thin top coat in one smooth stroke per nail, floating it over the surface rather than pressing down. A thick or old top coat drags dots sideways, and I check my bottle before I start now: if it strings when you pull the brush out, it is too old for this job. Cap the free edge, then add a second thin coat the next day for real longevity; that second-day coat is my favourite low-effort trick and it genuinely adds days. If you want extra shine, a gel-effect top coat over regular polish gives a salon gloss without a lamp. Skip quick-dry drops on this manicure — they can cloud magnetic shimmer. Done right, this seal locks the dots in place and lets the cat-eye line keep flashing every time you move your hands, which is the entire point.
10. Removal and Aftercare: Keep Your Nails Healthy for the Next Round
Removal is unglamorous and it matters more than any step above, because healthy nails are what make the next manicure possible. Soak cotton pads in acetone-based remover, place one on each nail, wrap in foil, and wait a full ten minutes — no picking, no peeling, since peeling lifts layers of your natural nail with the polish. Slide the foil off and the polish should come with it; any stubborn dots get a gentle push with an orangewood stick. Afterwards, wash your hands, push cuticles back, and massage cuticle oil into every nail — I do this nightly for a week after any dark polish, because dark shades can leave a faint stain on porous nails. A clear strengthening base for two or three days between manicures gives your nails a rest without looking bare. If you are pairing this look with a new hair moment, my pink-a-boo hair ideas and the arctic frost makeup trend both pair beautifully with burgundy or navy cat-eye nails.

Frequently Asked Questions
Can beginners really do polka-dot cat-eye nails at home?
Yes. The magnet does the hardest visual work for you, and dots are forgiving at small sizes. Start with navy polish, white dots, and short nails for your first attempt.
Do I need a special magnet for cat-eye polish?
Most magnetic polishes include a magnet in the cap or box. A strong round or bar magnet also works — hold it close without touching the wet polish.
Why did my cat-eye line disappear after I added dots?
You likely dotted while the layer was still wet, which drags the magnetic particles. Set the magnet line first, wait until tacky, then dot.
How long do polka-dot cat-eye nails last?
With good prep and a sealed top coat, seven to ten days is realistic. Add a second top coat on day two for extra wear.
Can I use regular polish for the dots?
Yes — regular polish works perfectly for dots over a magnetic base. Just keep the dot polish thin so it dries evenly.
Are magnetic polishes safe for natural nails?
Yes, when used with a base coat and removed properly with soak-off, not peeling. Always use a base coat underneath.
What nail shape suits this look best?
Almond and oval show off the shimmer line best, but short round nails look chic with small, scattered dots. Any shape works.
How do I remove cat-eye polish without staining?
Use a base coat before dark shades, soak with acetone remover in foil for ten minutes, and oil your cuticles afterwards.
By Mehboob Hussain — Mehboob Hussain is the founder and editor of MubStyle, where he covers fashion, beauty, home decor and wellness. He personally reviews and edits every article on MubStyle, and directs the original visuals for each guide. Based in Multan, Pakistan.

Mehboob Hussain is the founder and editor of MubStyle, where he covers fashion, beauty, home decor and wellness. He personally reviews and edits every article on MubStyle, and directs the original visuals for each guide. Based in Multan, Pakistan.